Editing Components — The Stepped Edit Form
Reading time: ~5 minutes | Level: Beginner Prerequisites: Tutorial 5: Creating Components with the Wizard
What You'll Learn
- How to open a component for editing
- How the stepped edit form differs from the creation wizard
- How to navigate freely between steps in edit mode
- The critical difference between Save and Save & Publish
- What happens after publication (and what you cannot undo)
Opening the Edit Form
- Navigate to Components (
/app/components) - Find the component you want to edit (use search or filters)
- Click the component to open its detail page
- Click the Edit button
The Edit button only appears for unpublished components. Once a component is published, it becomes permanent and cannot be edited.
The Stepped Edit Form
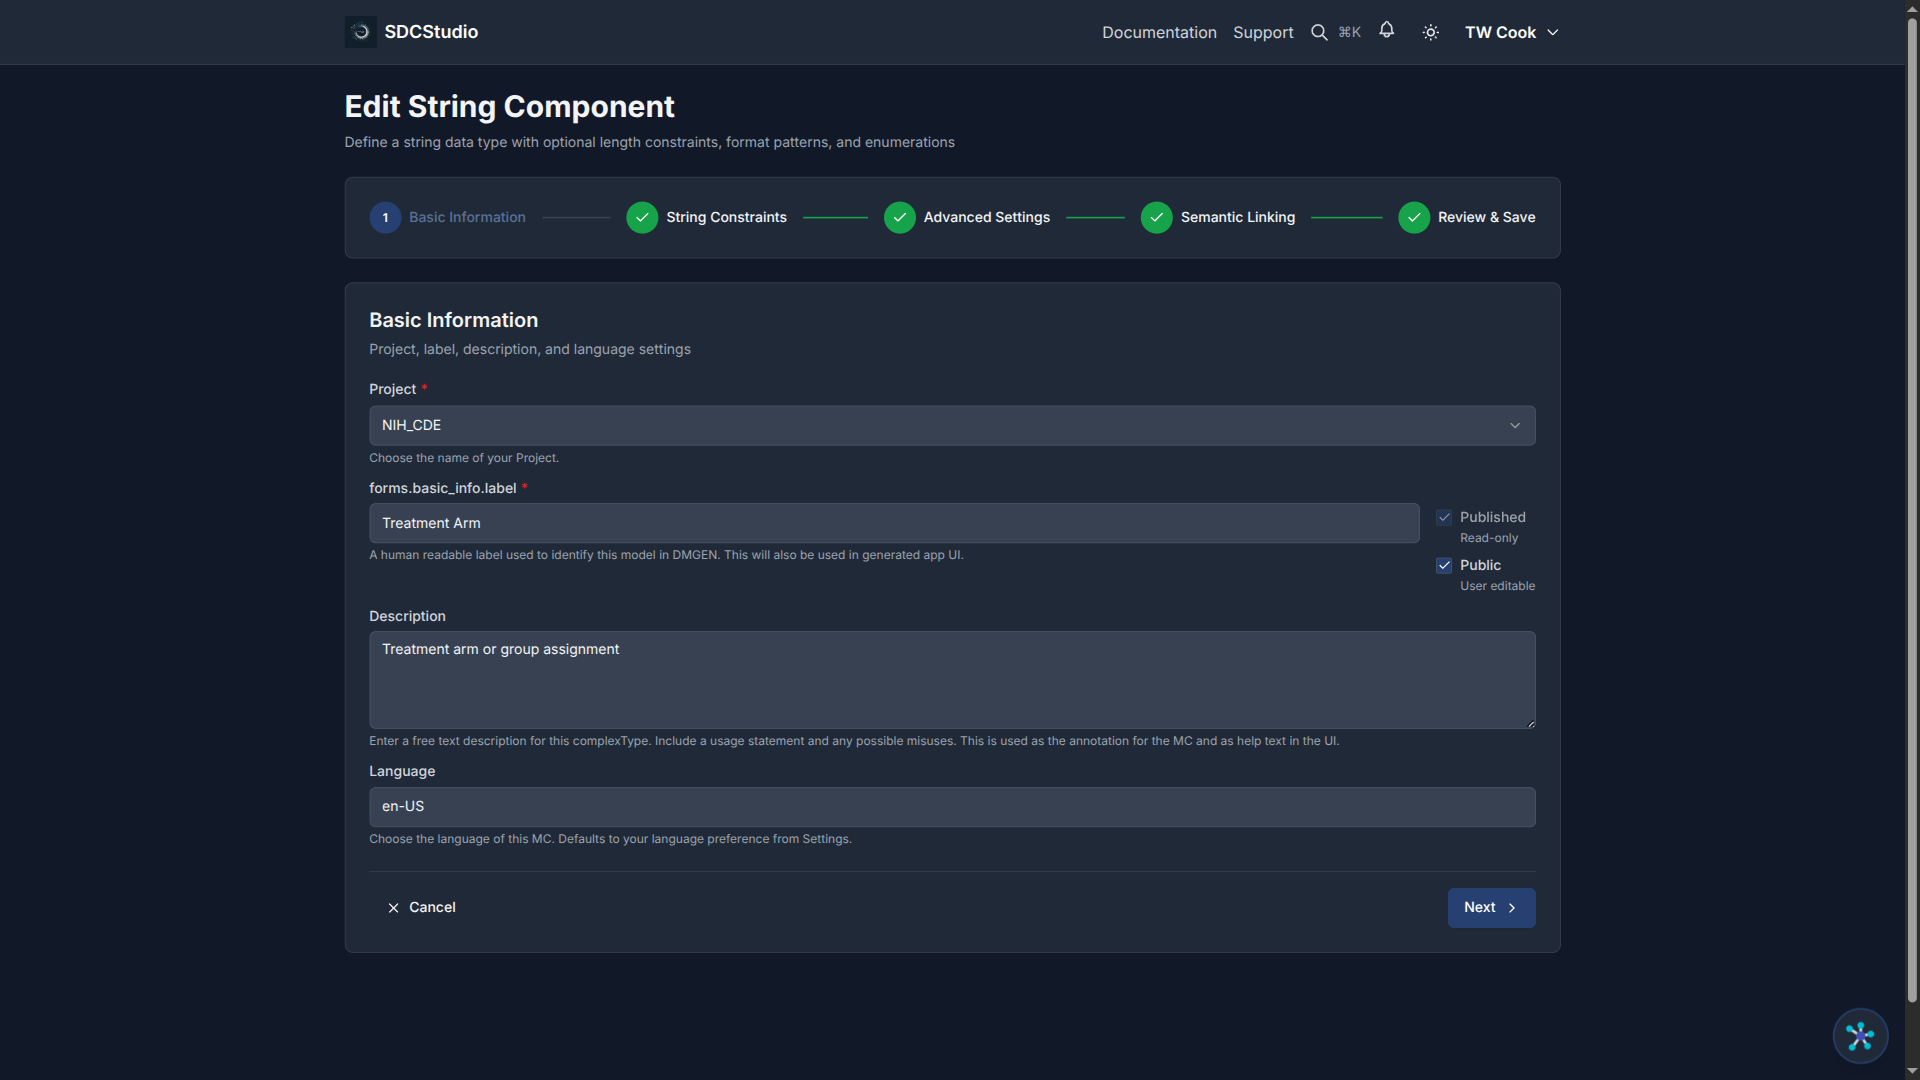
The edit form uses the same stepped layout as the creation wizard, but with two important differences:
- All steps are pre-completed: You can navigate to any step immediately — no need to proceed in order
- Free navigation: Click any step in the stepper to jump directly to it
Step Layout
For data types (XdString, XdCount, XdQuantity, XdTemporal, XdBoolean, XdFloat, XdDouble, XdOrdinal, XdLink, XdFile):
| Step | Name | What You Edit |
|---|---|---|
| 1 | Basic Info | Label, description, project, language |
| 2 | Type Config | Type-specific fields (regex, range, units, etc.) |
| 3 | Advanced Settings | Sequence number, UI type, validation flags |
| 4 | Semantic Linking | RDF predicate-object pairs |
| 5 | Review & Save | Summary of all fields; Save and Save & Publish buttons |
For Clusters:
| Step | Name | What You Edit |
|---|---|---|
| 1 | Basic Info | Label, description, project |
| 2 | Component Selection | Add/remove components via TransferList |
| 3 | Semantic Linking | RDF predicate-object pairs |
| 4 | Review & Save | Summary; Save and Save & Publish buttons |
Editing a Field

- Click the step containing the field you want to change (e.g., click "Type Config" to edit a regex pattern)
- Modify the field
- Navigate to the Review & Save step
- Click Save or Save & Publish
You can make changes across multiple steps before saving. Nothing is committed until you click a save button on the Review step.
Save vs Save & Publish
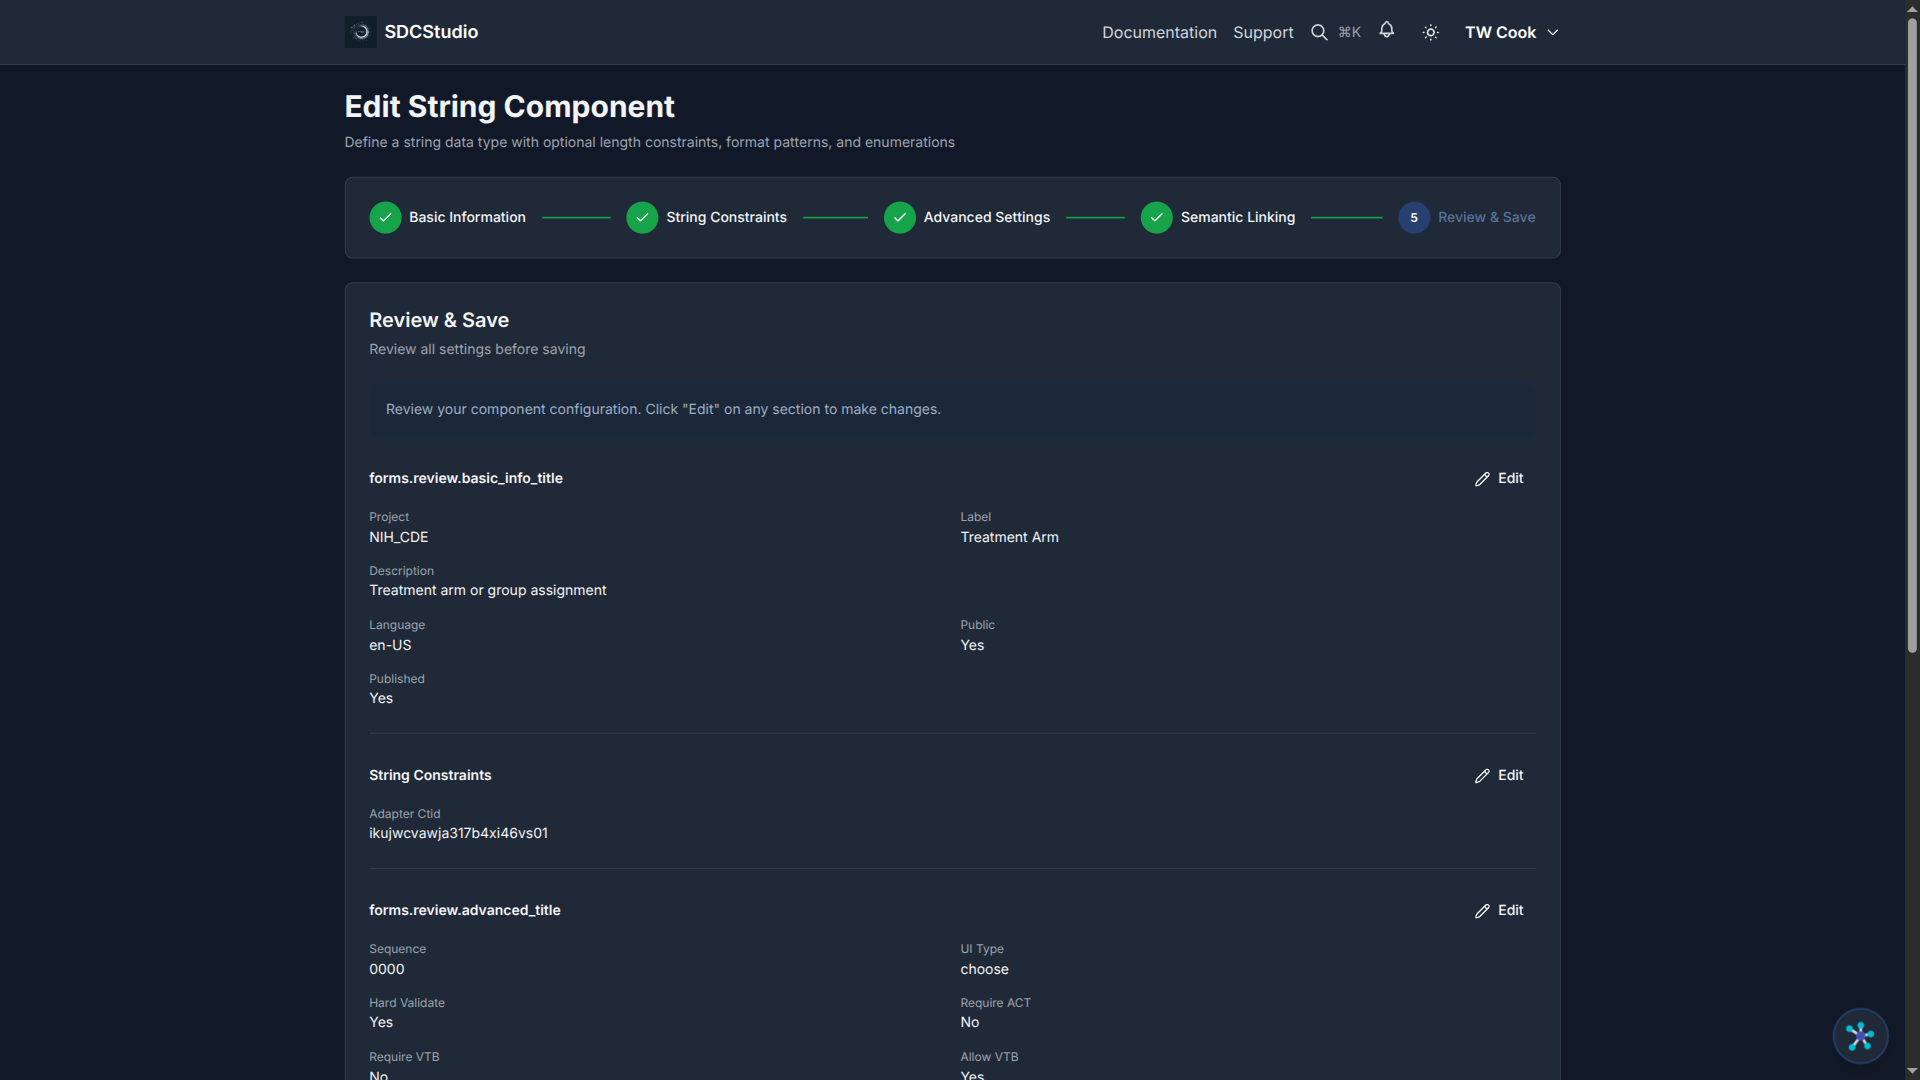
The Review step offers two buttons:
Save (Draft)
- Saves your changes
- Component remains in Draft status
- You can continue editing later
- No output generation is affected
Use Save when you are still working on the component and may want to make further changes.
Save & Publish (Permanent)
- Saves your changes AND publishes the component
- Component status changes to Published
- Cannot be undone — the component becomes permanent
- The component can no longer be edited, unpublished, or deleted through the normal UI
Use Save & Publish only when the component is completely finalized and you are certain it is correct.
When to Publish Components
Publish a component only when:
- All fields are filled in correctly
- Validation rules have been tested
- Description and label are accurate
- Semantic links are complete
- You are certain this is the final version
Remember: publication order matters for the broader workflow. You must publish all child components before you can publish the parent data model.
What If You Need Changes After Publishing?
If you discover an issue after publishing a component:
- Create a new component with the corrected values
- Update the cluster to reference the new component instead of the old one
- Publish the new component when ready
Published components remain in the system as a permanent record. This immutability is a core SDC principle — it ensures that any data validated against a published schema will always be interpretable.
Common Editing Tasks
Change a Label or Description
- Click Step 1 (Basic Info)
- Update the label and/or description
- Navigate to Review & Save
- Click Save
Add a Regex Pattern
- Click Step 2 (Type Config)
- Enter the regex pattern in the pattern field — or click the wand button next to the field to have the AI suggest one
- Navigate to Review & Save
- Click Save
To test and validate your regex pattern, use the XML Regex Reference & Sandbox — it includes common XML regex examples and a live tester.
AI Regex Suggestion (XdString Only)
The Format Pattern field on XdString components includes a magic wand button that uses the LLM to generate an XML Schema-compatible regex based on the component's label and description.
When the wand button is active:
- The component has a label
- The str_fmt field is currently empty (clear it to re-suggest)
- No enumerations are specified
Tips for better suggestions:
- Write a clear label (e.g., "Email Address", "US ZIP Code")
- Include format: examples in the description (e.g., format: ABC-1234, DEF-5678) — the AI will use these as reference patterns
Note on PII fields: Google Cloud Vertex AI enforces safety filters that may truncate regex suggestions for fields related to personally identifiable information (SSN, credit card, passport, etc.). SDCStudio automatically sanitizes known PII terms from prompts, but if you get a truncated result, try using a generic label like "Identifier Code" instead, or write the regex manually. See the AI Processing Guide for details.
Add Semantic Links
- Click Step 4 (Semantic Linking)
- Use the TransferList to select predicate-object pairs
- Navigate to Review & Save
- Click Save
Change Validation Flags
- Click Step 3 (Advanced Settings)
- Toggle the flags you need (ACT, VTB, VTE, TR, MOD, Location)
- Navigate to Review & Save
- Click Save
Summary
- Open the edit form from a component's detail page via the Edit button
- Edit mode has free navigation — click any step to jump to it
- Data type components have 5 steps; clusters have 4
- Save keeps the component as a draft; Save & Publish is permanent and irreversible
- Only publish when you are certain the component is complete and correct
Next Tutorial
Organizing with Clusters — Learn how to group components into logical structures using clusters.