Organizing with Clusters
Reading time: ~5 minutes | Level: Beginner Prerequisites: Tutorial 4: Understanding Components and Data Types
What You'll Learn
- What clusters are and why they matter
- How to create a cluster using the 4-step Cluster Wizard
- How to select components using the TransferList
- Best practices for organizing your data model
What is a Cluster?
A cluster is a container that groups related components together. In SDC4, clusters correspond to ClusterType — a structural element that holds other components via XdAdapterType wrappers.
Think of clusters like folders for your data fields:
Customer Cluster
├── customer_id  (XdCount)
├── first_name   (XdString)
├── last_name    (XdString)
├── email        (XdString)
└── signup_date  (XdTemporal)
Every data model has at least one root cluster. The AI creates this automatically when it processes your uploaded file, grouping all columns into a single cluster.
Why Use Clusters?
Logical organization: Group related fields so the model structure mirrors the real-world domain. A "Contact Info" cluster groups email, phone, and address. A "Payment" cluster groups method, amount, and status.
Flat grouping: Each cluster contains components directly — no nesting. Keep all related fields together in a single cluster for clarity:
Order Cluster
├── order_id
├── order_date
├── order_status
├── customer_id
├── customer_email
├── payment_method
├── total_amount
└── currency
Reusability: A cluster and its components can be reused across multiple data models. Define a "Contact Info" cluster once, then include it in any model that needs contact fields.
Creating a Cluster with the Wizard
- Navigate to Components (
/app/components) - Click Create New
- Select Cluster as the type
The Cluster Wizard has 4 steps (one fewer than data type components, since clusters have no Type Config or Advanced Settings step).
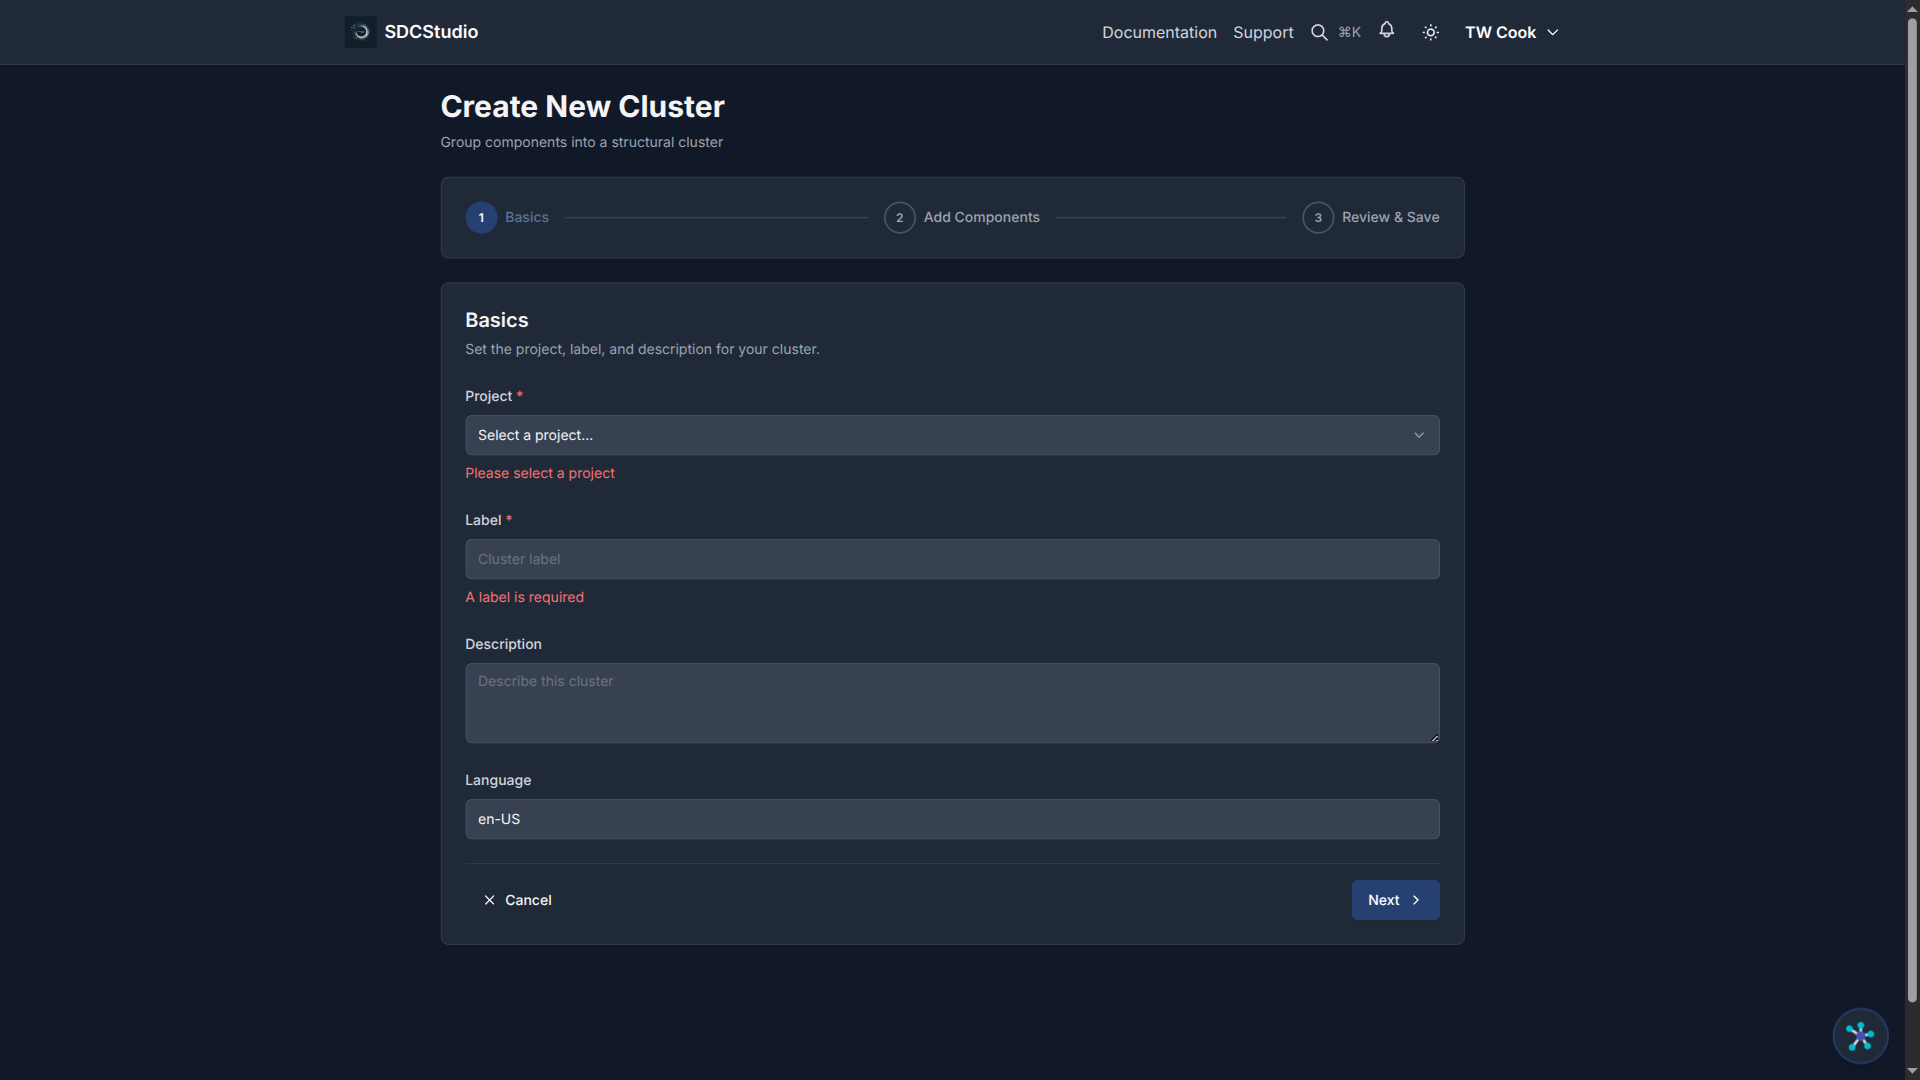
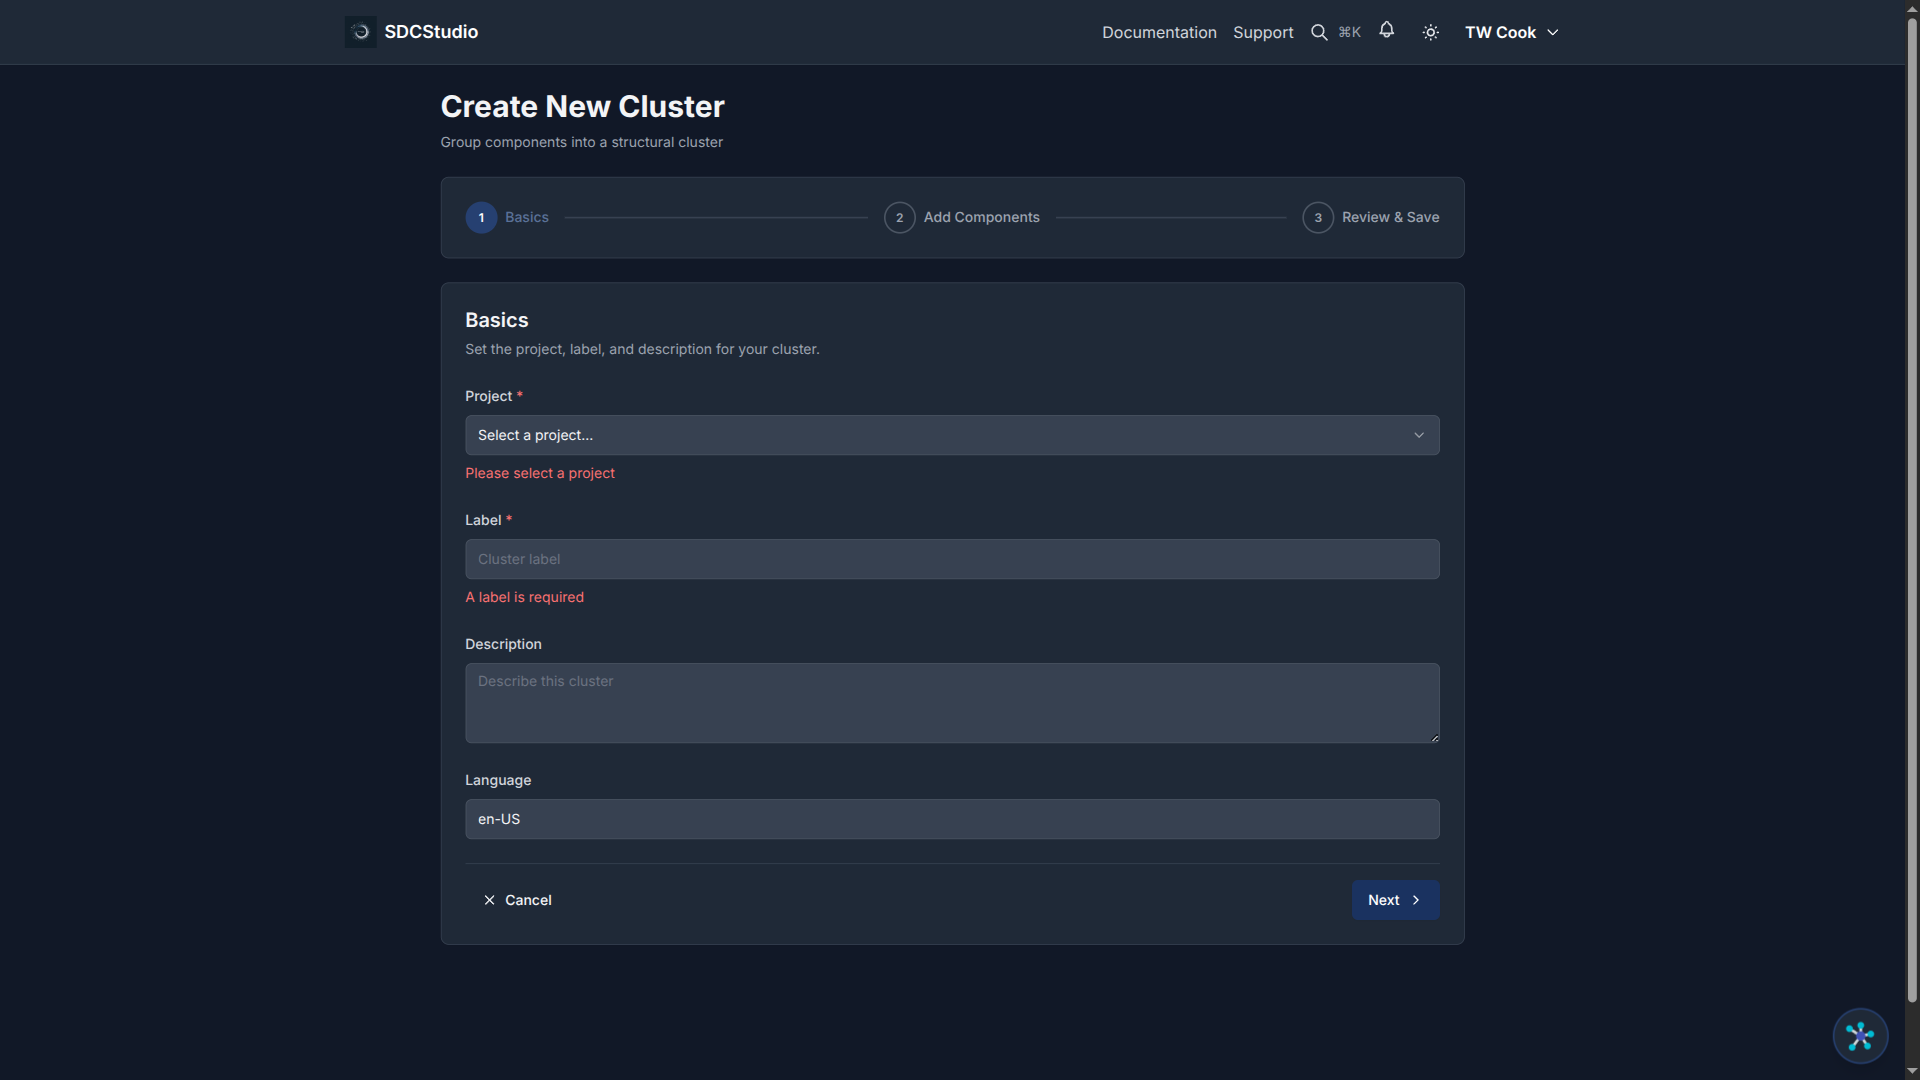
Step 1: Basic Info
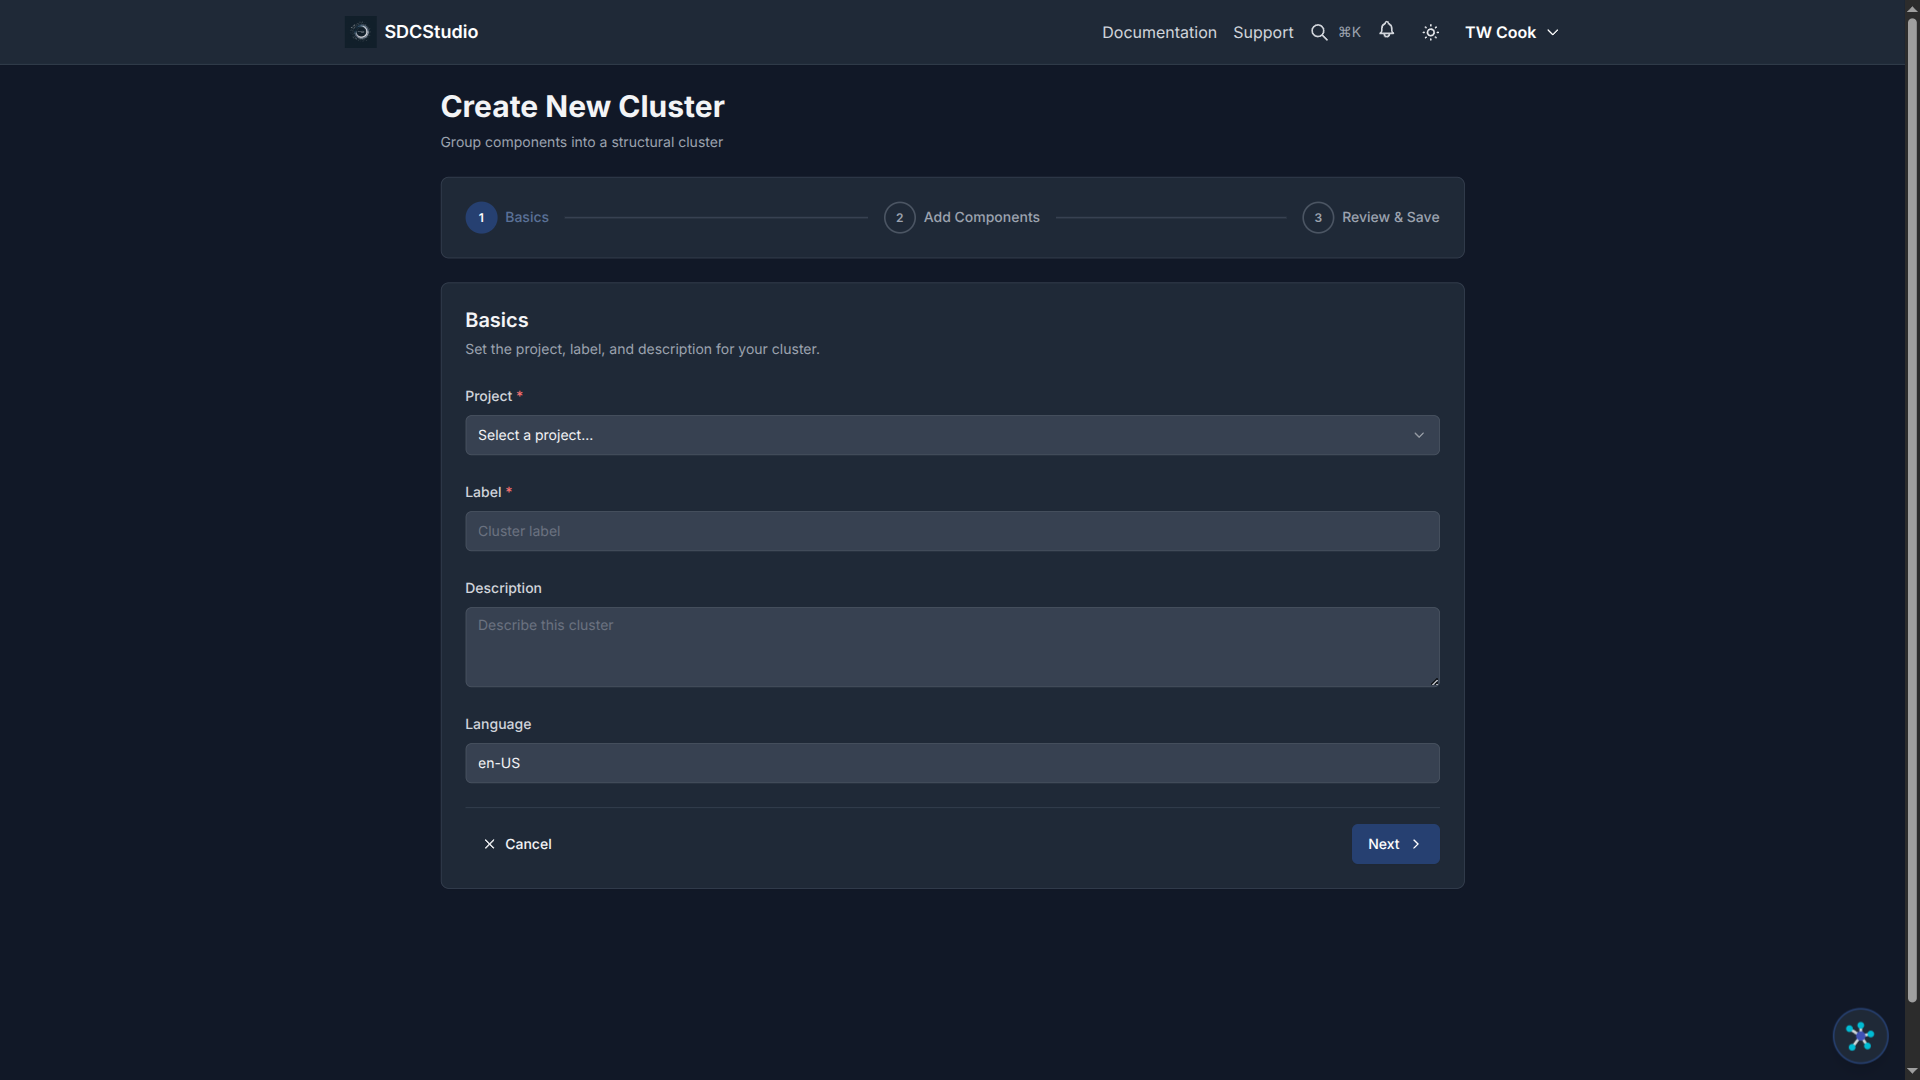
- Label (required): A clear name for the cluster (e.g., "Customer Contact Information")
- Description: Purpose and contents of this grouping
- Project: Which project the cluster belongs to
Click Next.
Step 2: Component Selection
This step uses a TransferList — a dual-pane selector:
- Left pane: Available components (all unpublished and published components in the project)
- Right pane: Components selected for this cluster
To add components to the cluster: 1. Find components in the left pane (use the search filter to narrow the list) 2. Select one or more components 3. Click the arrow button to move them to the right pane
To remove a component from the cluster: 1. Select it in the right pane 2. Click the arrow button to move it back to the left pane
The order of components in the right pane determines their sequence in the cluster. You can reorder them by selecting and using the up/down controls (if available) or by adjusting sequence numbers on individual components.
Click Next.
Step 3: Semantic Linking
Optionally link the cluster itself to ontology concepts. This adds meaning to the grouping, not just the individual components.
For example, a "Blood Pressure" cluster could link to SNOMED CT concept 75367002 (Blood pressure).
Click Next.
Step 4: Review
Review all fields. Click Create to save the cluster.
Editing a Cluster
To edit an existing cluster:
- Navigate to the cluster's detail page
- Click Edit
- All 4 steps are available for free navigation
- Go to Step 2 (Component Selection) to add or remove components
- Navigate to Review & Save and click Save or Save & Publish
Best Practices
Group by domain concept: Put related fields together. All address fields in an "Address" cluster. All payment fields in a "Payment" cluster.
Name clusters clearly: Use descriptive names that indicate what the cluster contains. "Patient Demographics" is better than "Cluster 1".
Avoid single-component clusters: If a cluster would only contain one component, the cluster adds complexity without value. Only group when there are two or more related fields.
Plan before creating: Sketch your cluster organization on paper or in a diagram before creating clusters in SDCStudio. It is easier to reorganize on paper than to recreate clusters.
Keep it flat: SDC4 clusters are flat — all components are direct children. This keeps models simple, predictable, and easy to understand.
Summary
- Clusters group related components into logical units
- The Cluster Wizard has 4 steps: Basic Info → Component Selection → Semantic Linking → Review
- The TransferList lets you move components in and out of the cluster
- Clusters are flat — all components are direct children
Next Tutorial
Semantic Linking — Adding Meaning to Your Data — Learn how to connect your components to ontologies using RDF predicates.