Working with Models and Projects
Reading time: ~5 minutes | Level: Beginner Prerequisites: Tutorial 2: SDCStudio Overview
What You'll Learn
- How projects organize your work in SDCStudio
- How to create a model using the Model Wizard
- The model lifecycle from Draft to Published
- Versioning strategies for evolving models
- Tips for organizing a multi-model project
Projects
What Projects Are
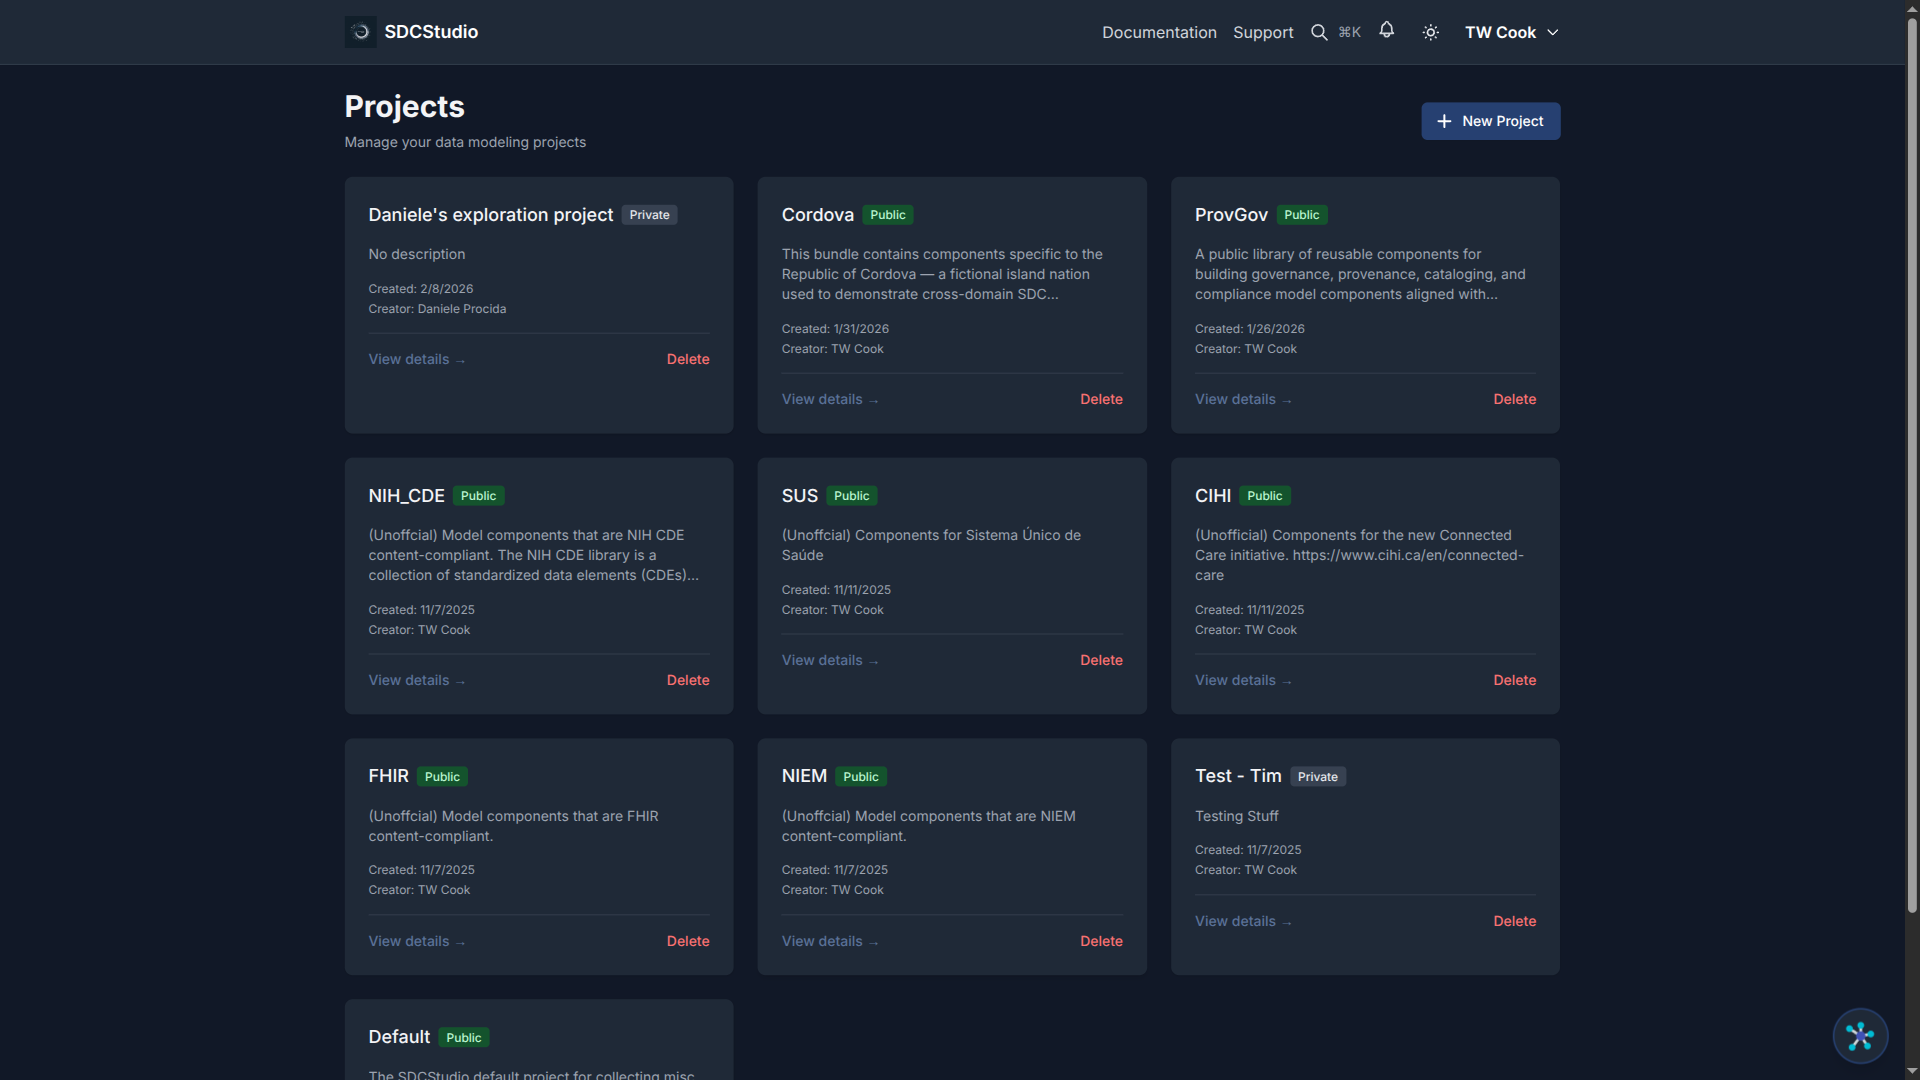
A project is a top-level container that groups related data models, components, data sources, and clusters. Use projects to organize by:
- Domain: "Healthcare Patient Records", "E-Commerce Orders"
- Department: "Finance Data Models", "HR Analytics"
- Initiative: "Q1 Integration Project", "Data Warehouse Migration"
Creating a Project
- Navigate to Projects in the main navigation
- Click Create New Project
- Fill in:
- Name: A descriptive name (e.g., "Customer Analytics")
- Description: Purpose and scope of the project
- Domain (optional): Select a relevant domain category
- Click Create
You are redirected to the project dashboard, which shows tabs for Data Sources, Data Models, and Components.
Project Organization Tips
One project per domain area: Keep healthcare models separate from finance models. This makes ontology targeting more effective — healthcare ontologies apply to the healthcare project, not the finance project.
Name projects descriptively: "Customer Management v2" is more useful than "Project 3".
Use descriptions: Future you (and your colleagues) will thank you for explaining what each project is for.
Data Models
What a Model Is
A data model is the core SDC4 artifact. It contains:
- A Data cluster (which contains components)
- Metadata: name, description, language, encoding
- Sovereign identity: An auto-generated CUID2 instance_id (mandatory, read-only)
- Source provenance (optional): source_instance_id and source_version_id for tracking data lineage from originating systems
- Status: Draft or Published
Models are typically created automatically when you upload a data file and the AI processes it. But you can also create models manually.
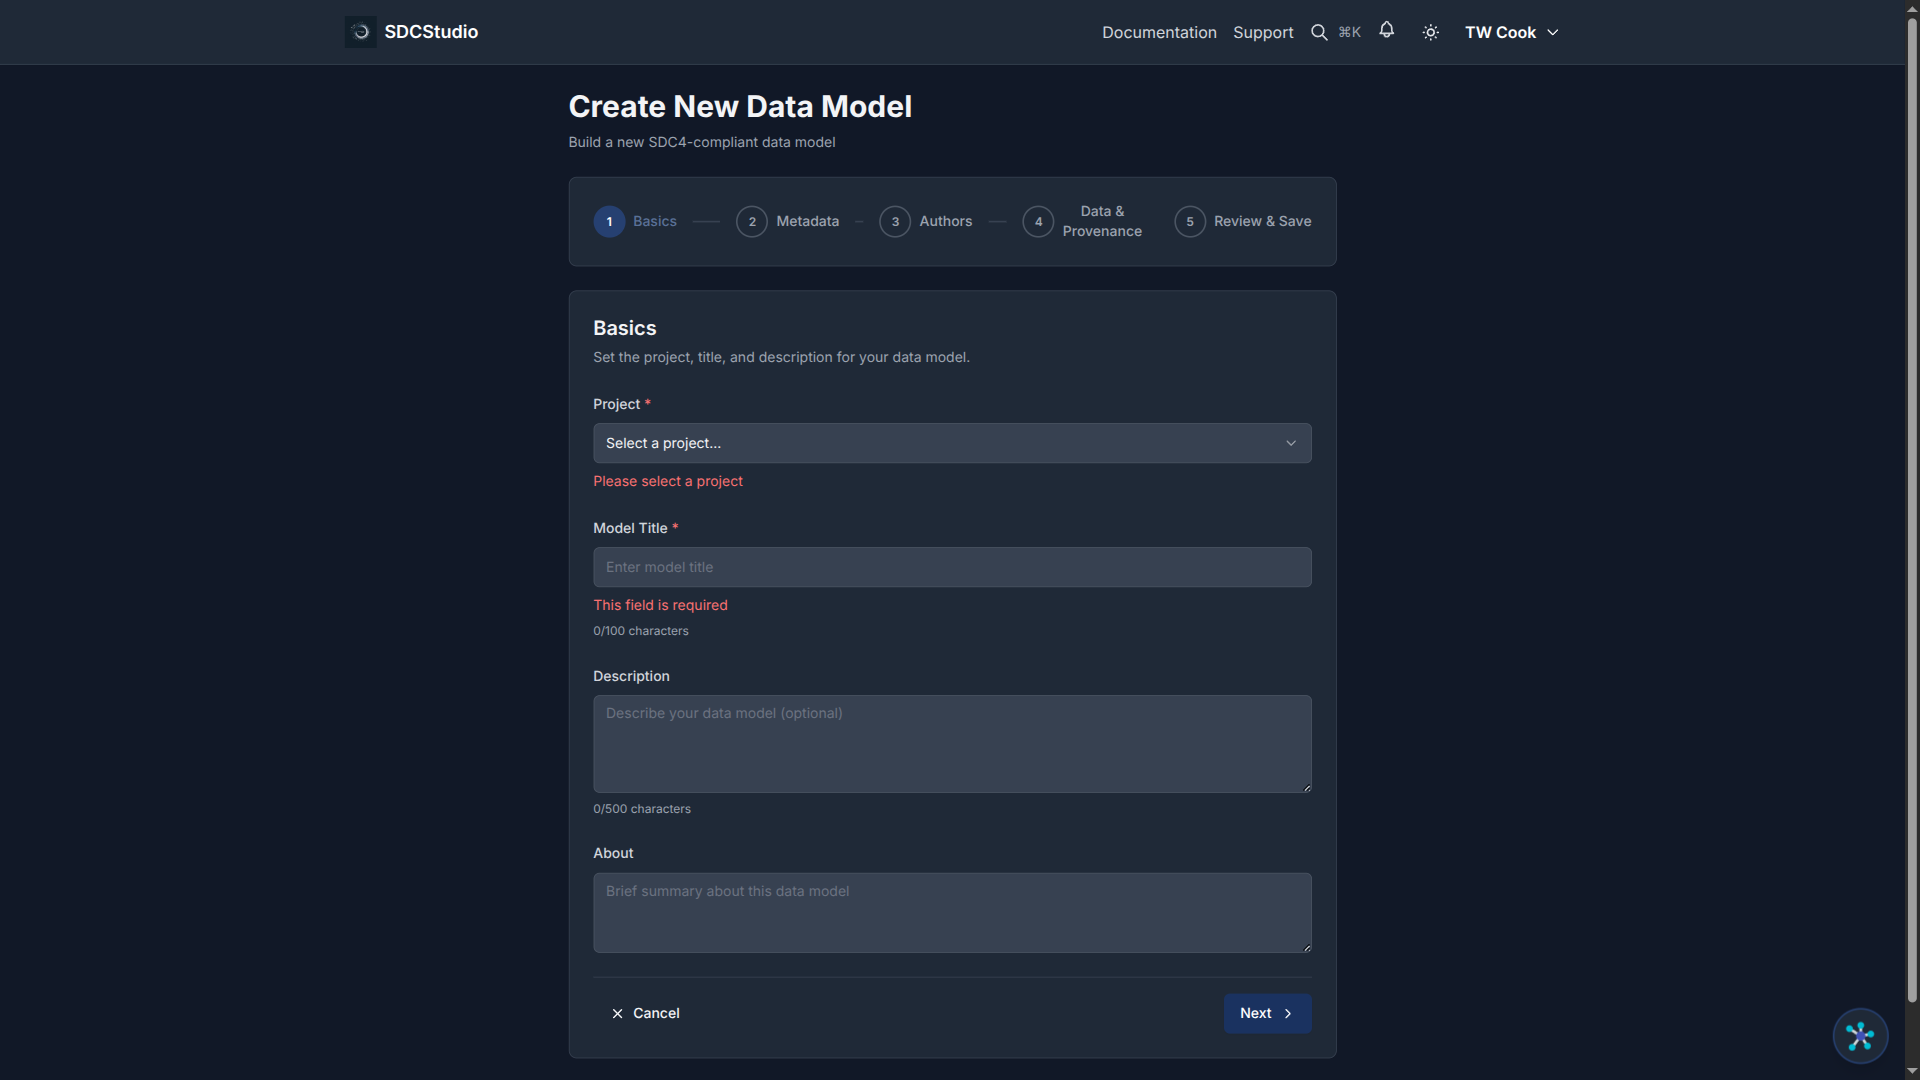
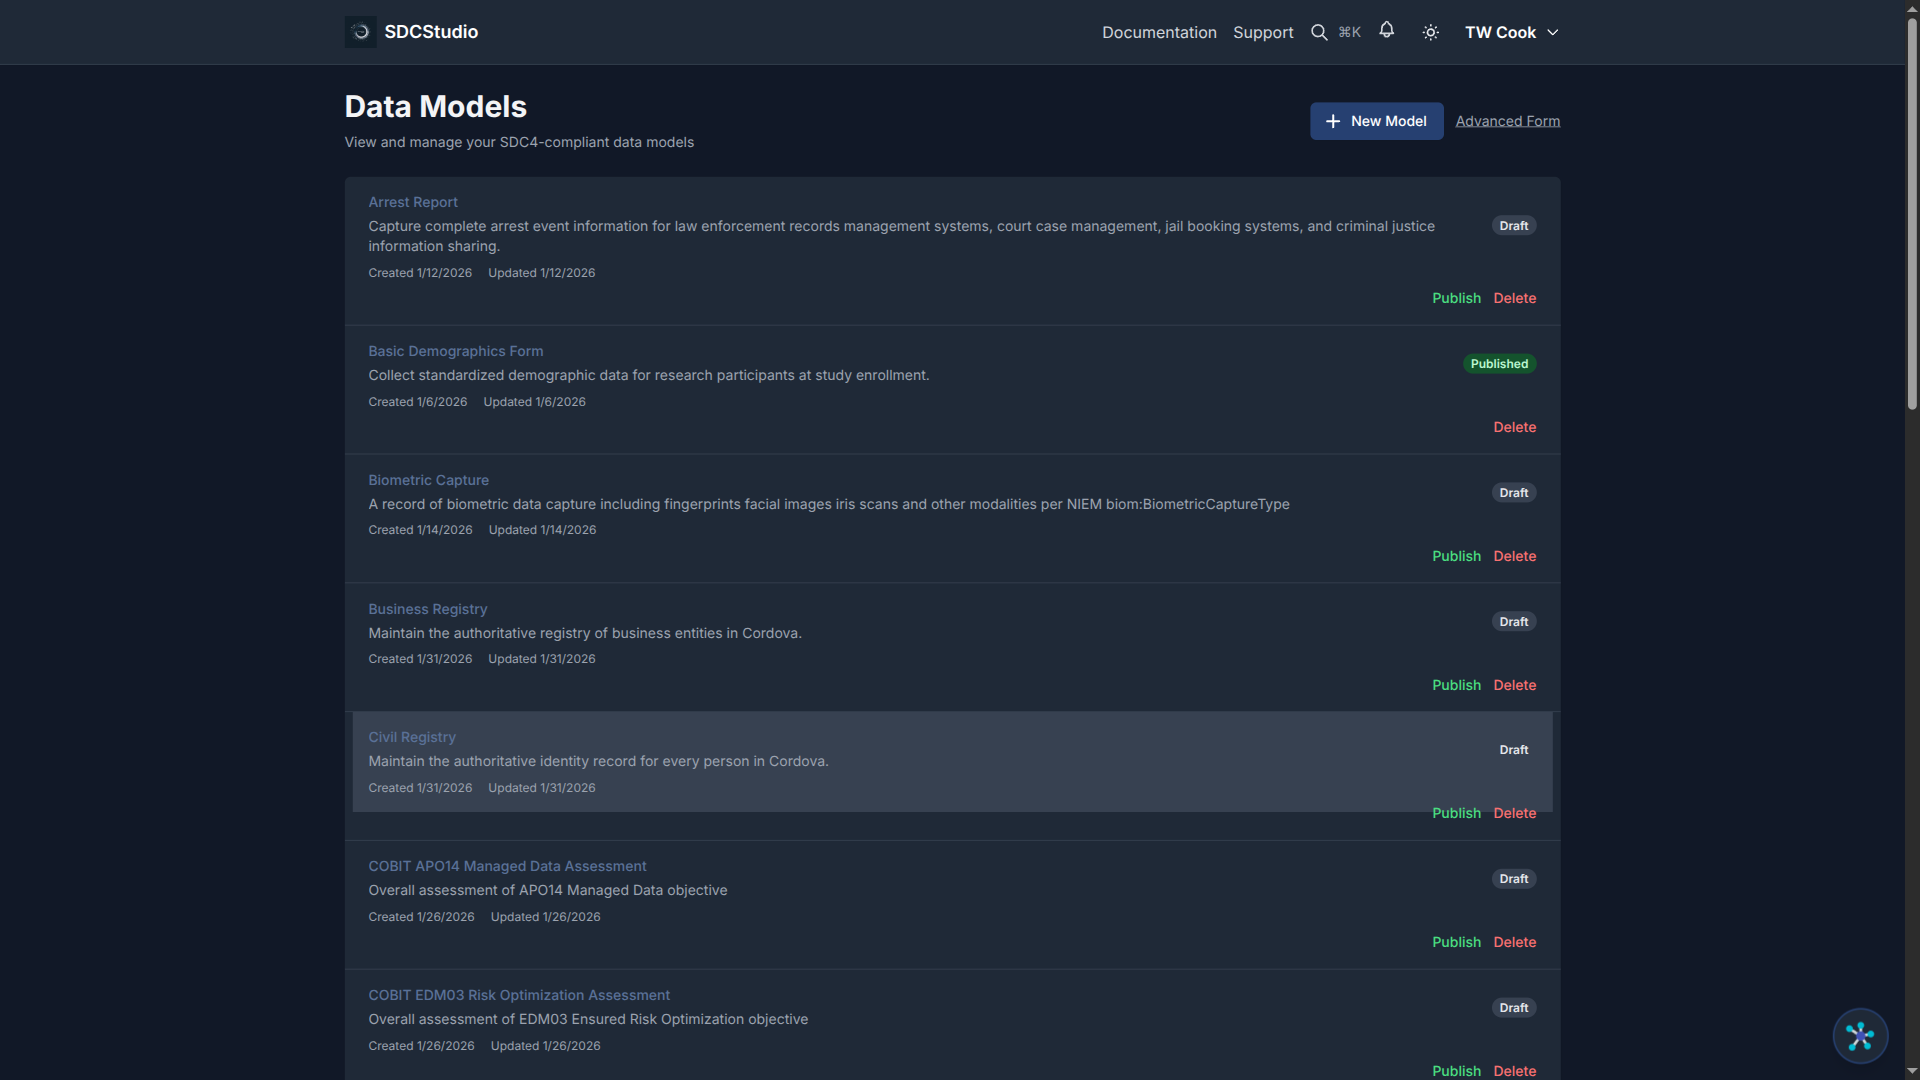
Creating a Model with the Model Wizard
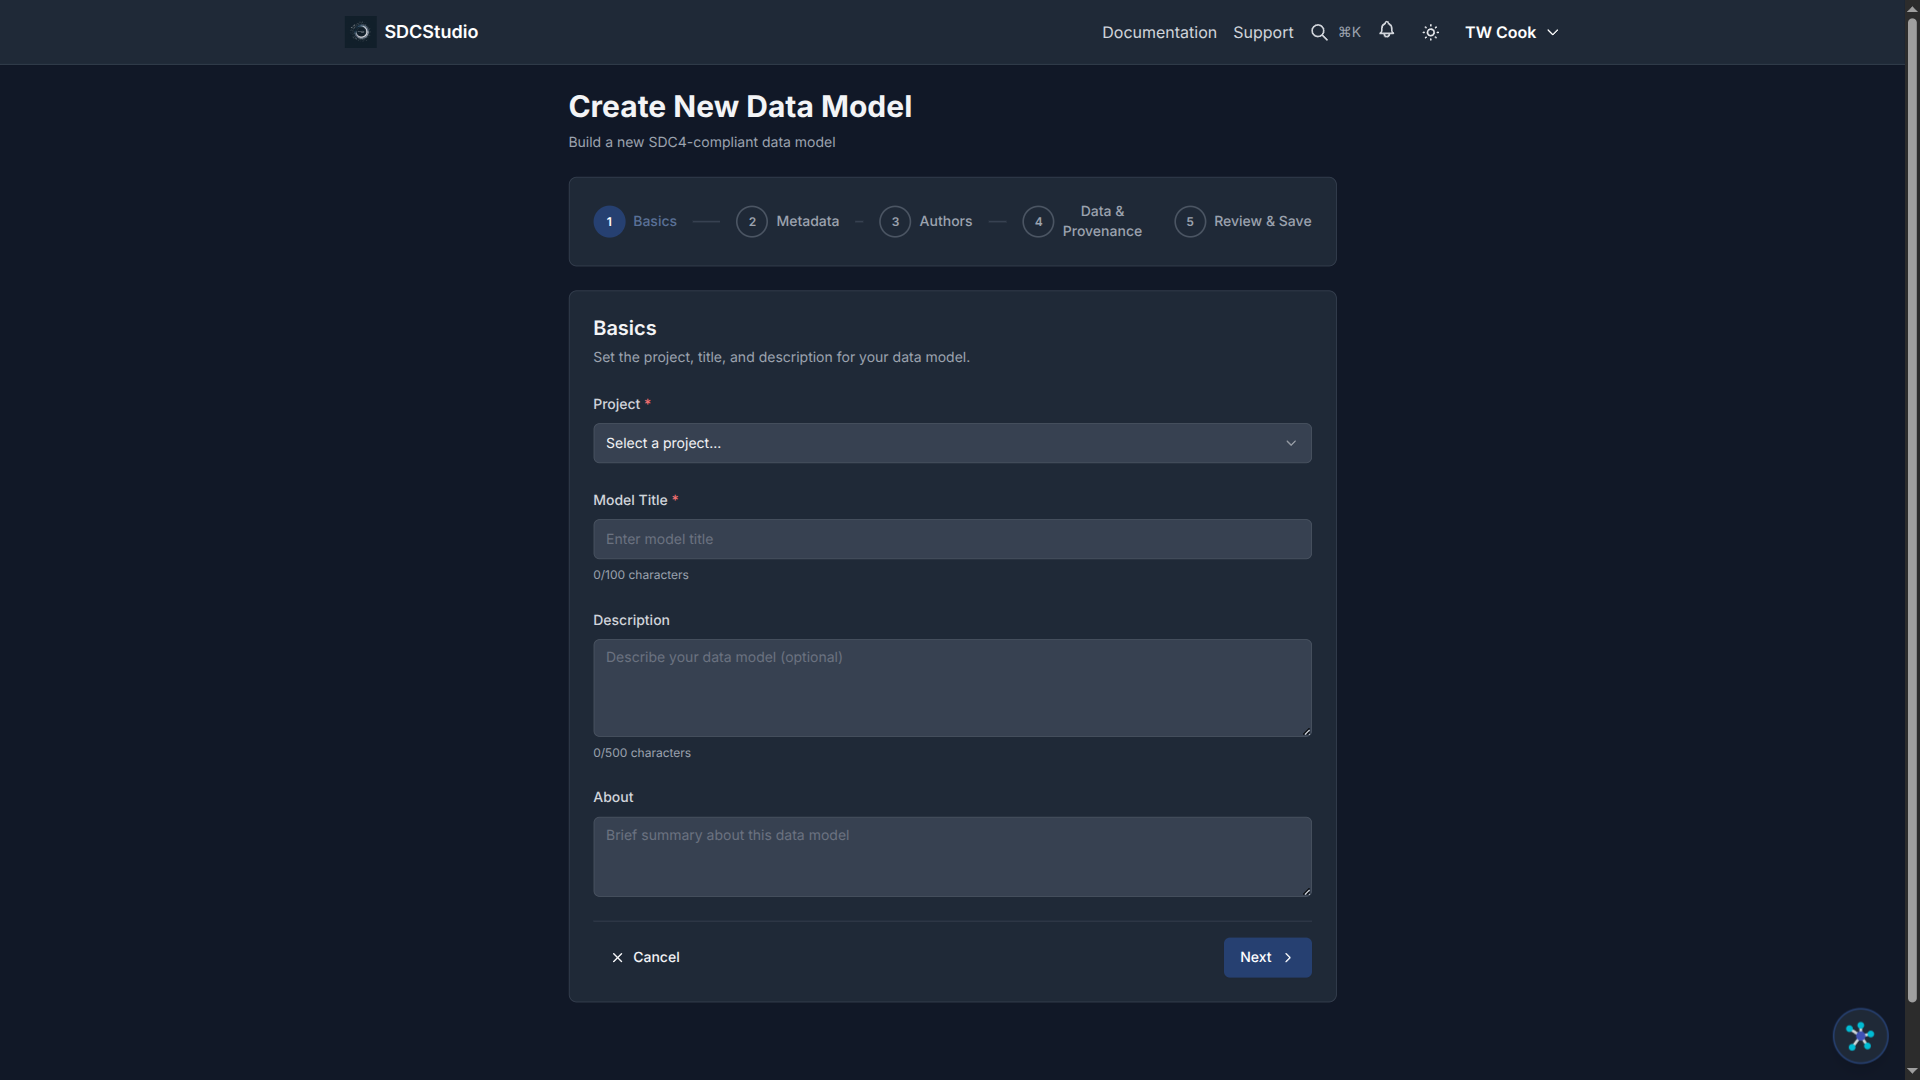
- Navigate to Data Models (
/app/models) - Click Create New Model
- The Model Wizard guides you through:
- Model name: What this model represents (e.g., "Customer Demographics")
- Description: Purpose and contents
- Project: Which project this model belongs to
- Language: Primary language (e.g., en-US)
-
Source Provenance (optional): Source Instance ID and Source Version ID for data lineage from external systems
-
Click Create (a sovereign
instance_idCUID2 is auto-generated)
After creation, the model is in DRAFT status. You then:
- Add components (manually or from AI processing)
- Organize them into clusters
- Review and refine
- Publish when ready
The Model Lifecycle
DRAFT → (edit freely) → PUBLISHED → (generate package) → COMPLETE
Draft: The model can be edited. Components can be added, removed, or modified. This is where you do all your work.
Published: The model is locked. No further edits are possible. This enables output generation.
Complete (after package generation): All output files are generated and available for download.
There is no way to move backward in this lifecycle. Draft → Published is permanent.
Viewing a Model
The model detail page shows:
- Model metadata: Name, description, status, project, instance ID (CUID2)
- Data cluster: The grouping of all data components
- Component list: All components in the model with their types and status
- Actions: Edit (if Draft), Publish (if Draft and all children published), Generate Package (if Published)
- Downloads: Individual file downloads and ZIP package (after generation)
Versioning Strategy
Since publication is irreversible, versioning is how you evolve models over time.
Naming Convention
Use a consistent naming pattern:
{ModelName} v{version}

Examples:
  Customer Demographics v1
  Customer Demographics v2
  Patient Vitals v1.0
  Patient Vitals v1.1
When to Create a New Version
Create a new version when: - You discover errors in a published model - Requirements change and fields need to be added or modified - Validation rules need updating - New semantic links need to be applied
Version Workflow
- Reference the published model — note what needs to change
- Create new components — with corrections applied
- Create a new model — with the updated name and version
- Organize and test — verify all changes
- Publish — following the standard bottom-up process
- Document changes — record what changed between versions in the model description
SDC Versioning Convention
The SDC ecosystem uses a modified semantic versioning scheme:
MAJOR.MINOR.PATCH
- MAJOR = SDC Reference Model version (currently 4 for SDC4)
- MINOR = Feature releases for your artifact
- PATCH = Bug fixes and minor updates
All SDC4-compliant artifacts use 4.x.x versioning. The major version always matches the Reference Model version.
Multi-Model Projects
For projects with multiple related models:
Shared Components
Components can be shared across models within a project. Create common components (like "Email Address" or "Currency Amount") once, then include them in multiple models via clusters.
Model Dependencies
If one model references concepts from another (e.g., an "Order" model references a "Customer" model), document this relationship in the model descriptions. SDCStudio does not enforce cross-model dependencies directly, but clear documentation prevents confusion.
Organization Pattern
A typical multi-model project might look like:
Project: E-Commerce Platform
├── Model: Customer v1
│   └── Cluster: Customer Data
│       └── customer_id, name, email, phone, street, city, state, zip
├── Model: Product Catalog v1
│   └── Cluster: Product Data
│       └── product_id, name, description, price, currency, discount
└── Model: Order v1
    └── Cluster: Order Data
        └── order_id, order_date, status, product_ref, quantity, unit_price, method, amount, transaction_id
Summary
- Projects organize related models, components, and data sources
- Models are the core SDC4 artifacts — created automatically from uploads or manually via the Model Wizard
- The model lifecycle is Draft → Published → Complete (irreversible)
- Use versioning (v1, v2, v3) to evolve models after publication
- Shared components enable reuse across models within a project
Where to Go from Here
You have now completed the full tutorial series. Here are paths for continued learning:
- User Guides — Comprehensive reference documentation for every feature
- Data Types Reference — Complete SDC4 type specifications
- Generating Outputs Guide — Deep dive into each output format
- Semantic Enhancement Guide — Advanced ontology integration
- Tutorial Index — Return to the tutorial hub